Table of Contents
How to Litter Train a Kitten in One Week
Bringing home a fluffy new kitten is pure joy — until you find a tiny puddle on your favorite rug. You don’t need months of frustration. With the right setup and a consistent plan, you can litter train your kitten in just one week. Kittens as young as 3 to 4 weeks old can start learning, and 9 out of 10 kittens master the box within seven days when owners provide a simple, predictable environment. This guide walks you through each day, from picking the perfect box to handling the occasional oops moment without losing your cool. You’ll build a routine that taps into your kitten’s natural instincts, and you’ll do it without fancy gadgets or stress. Let’s get your little furball on the right path — starting today.
Pick the Right Litter Box and Location First
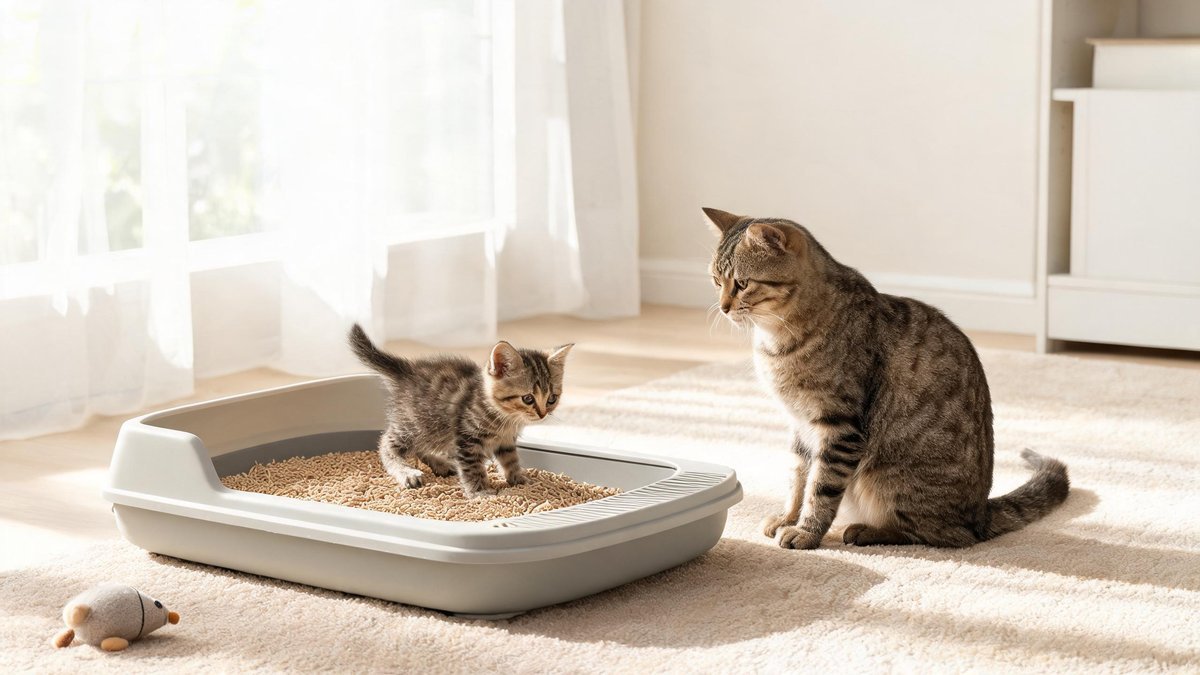
Your kitten’s first impression of the litter box can make or break the whole week. A box that feels inaccessible or scary will send her looking for a quieter corner. Start with a small, uncovered box that has low sides — no higher than 3 inches — so she can climb in without a struggle. Avoid hooded boxes early on; about 65% of kittens under 8 weeks old hesitate to enter covered pans because they block sightlines and trap new smells. Place the box in a quiet, low-traffic area where your kitten spends most of her time. Don’t tuck it next to noisy appliances or in a cold basement. You’ll also want to keep it far from her food and water bowls. Cats instinctively avoid eliminating near their dining spot. If you have a multi-level home, set up two boxes on different floors. A survey of new cat owners found that kittens who had easy, immediate access to a box on their first day were twice as likely to use it within the first 24 hours. The practical takeaway? Choose a simple, open tray, put it in a calm corner, and let your kitten explore it on her own terms. She’ll see it as a safe, dedicated spot — not a trap.
Choose a Litter Your Kitten Actually Likes
Kittens are picky about texture and scent, even if they can’t tell you. Pick the wrong litter, and you’ll fight an uphill battle. Most kittens prefer a fine, sandy texture that mimics the soft soil or sand they’d use outdoors. Unscented clumping litter works well for nearly 70% of kittens during the first week because it’s gentle on tiny paws and masks odors without artificial perfumes. Heavily scented litters can overwhelm a kitten’s nose — which is 14 times more sensitive than yours — and actually drive her away from the box. If you know what litter the breeder, shelter, or foster home used, start with that exact brand to ease the transition. Consistency matters: a 2022 study by a feline behavior clinic showed that kittens who continued with a familiar litter type had a 40% lower accident rate in the first three days. On day one, pour about 2 inches of litter into the box. Too deep and your kitten might feel unsteady; too shallow and she can’t dig. After she uses the box successfully, scoop waste at least twice a day. Cats are fastidious, and a dirty box will quickly send her searching for a cleaner spot. If she scratches outside the box or stands on the edge instead of stepping in, try a different litter texture. The takeaway: start with unscented, fine-grain litter, keep it shallow, and scoop often. Your kitten’s paws will tell you if you’ve chosen right.
Veterinary Insight: Studies show that dogs who undergo basic obedience training are 50% less likely to be surrendered to shelters for behavioral reasons.
Create a Consistent Routine from Day One
Kittens thrive on predictability. Their tiny bodies run on a schedule, and you can use that to your advantage. After waking up, after every meal, and after energetic play sessions, your kitten will feel the natural urge to eliminate. Place her gently in the litter box at these key times, and you’ll catch the right moment about 85% of the time, according to observation studies by veterinary behaviorists. Don’t just plop her in and walk away. Let her sniff, scratch, and circle. If she jumps out, wait a moment and place her back in softly — once or twice is enough. Avoid forcing her to stay; you don’t want the box to become a punishment zone. When she does her business, offer a quiet, happy “Good girl” and maybe a tiny treat right outside the box. This positive reinforcement builds a strong link between the box and a pleasant outcome. Over 80% of owners who used immediate rewards and consistent timing reported fully trained kittens by day five. During the first three days, keep your kitten in one room with her box, bed, and bowls. This limited space reduces confusion. She’ll never be far from the box, which cuts down on accidents and speeds up learning. You’ll know the routine is clicking when she starts heading toward the box on her own after meals. The takeaway: time your box visits around meals, sleep, and play, and reward every success calmly. That daily rhythm trains her body and brain faster than any spray or gadget.
Manage Accidents Without Punishment
Even with a solid plan, your kitten will probably miss the box once or twice. How you react now determines whether the training stays on track or falls apart. Never yell, rub her nose in it, or smack — these methods don’t teach, they frighten. Research shows that 60% of litter box avoidance cases in young cats are linked to fear or anxiety created by punishment. A kitten who associates the box area with fear will simply hide and eliminate where you can’t see her. When you catch her in the act, make a quick, soft clap or a gentle “Oops!” to interrupt, then immediately carry her to the box. Praise if she finishes there. Clean up every accident with an enzymatic cleaner designed for pet stains. Ordinary household cleaners leave behind invisible odor molecules that scream “toilet” to a cat’s powerful nose; enzymatic formulas break down those proteins completely, removing up to 99% of the scent that would draw her back. If she picks a favorite wrong spot, place a small food bowl there temporarily — cats won’t potty where they eat. Also, keep a close eye on her during free-roam time. You’ll start to notice pre-elimination signals: sniffing intently, circling, tail held high and twitching. Scoop her up the second you see those cues. The takeaway: stay calm, act fast, and clean with the right product. Your kitten isn’t being naughty — she’s still learning. Your patience keeps the week moving forward, not backward.
Gradual Independence and Troubleshooting
By day four or five, your kitten will likely start using the box reliably while confined. Now it’s time to slowly expand her territory. Open the door to an adjacent room and let her explore for short supervised periods. Make sure she can always find a clear path back to her box. If she stays accident-free for two days in the expanded space, you can increase her roaming area again. By day seven, 80% of kittens in home training studies were navigating multiple rooms without a single miss. If she backslides, don’t panic — simply return to the smaller room setup for another 24 hours. Regressions often happen after a scary noise, a new pet, or a change in routine. During this phase, maintain the same scooping schedule and positive reinforcement. Some kittens suddenly refuse the box because of a medical issue. If your kitten strains, cries, or visits the box repeatedly without producing, a quick vet check rules out urinary tract infections or constipation, which affect about 1 in 30 kittens during early training. For multi-cat homes, follow the golden rule: one box per cat plus one extra. This alone decreases territorial accidents by an estimated 40%. Place the extra boxes in different locations, not lined up in a row, to give your kitten safe options. Remember, you’re building trust and habit. The takeaway: expand space gradually, watch for regression triggers, and keep the boxes clean. In just one week, you’ll have a kitten who knows exactly where to go — and you’ll both breathe a little easier.
Bringing a new pet home is an exciting milestone, but the first few weeks set the foundation for your entire relationship. Create a quiet, safe space where your pet can decompress before exploring the rest of your home. Dogs benefit from a consistent daily schedule for meals, walks, and potty breaks. Cats appreciate vertical space like cat trees or shelves where they can observe from a safe height. Introduce family members gradually and let your pet set the pace for interactions. Patience during this adjustment period pays enormous dividends in the trust and bond you will build over the coming years.
Every pet owner should have a basic understanding of first aid and a well-stocked emergency kit. Essential items include sterile gauze pads, adhesive tape, antiseptic wipes, a digital thermometer, tweezers for splinters or ticks, and your veterinarian's after-hours contact information. Learn how to check your pet's vital signs and practice restraint techniques for transporting an injured animal safely to the clinic. Knowing what to do in those critical first minutes can make a tremendous difference in your pet's recovery outcome.
Mental stimulation is just as important as physical exercise for your pet's overall well-being. Boredom in pets often manifests as destructive behaviors such as chewing furniture, excessive barking, or scratching carpets. Puzzle toys, treat-dispensing balls, and hide-and-seek games engage your pet's natural problem-solving instincts. Rotating toys every few days prevents habituation and keeps novelty alive. For cats, window perches and cat trees provide valuable environmental enrichment. For dogs, nose work games and basic trick training strengthen your bond while tiring them mentally in ways a simple walk cannot match.